


week 25: David's gardening philosophy
this week on the little dream farm


You have to know that prior to us moving to the farm, I used to kill just about everything I ever grew.
Window boxes? Always forgot to water them.
Patio planters? People walking their dogs in Philly would let their dogs pee all over them and the flowers would all die.
Back yard? We had so many random city critters that everything would get destroyed.
House plants? Well we only kept a few because of the cats and they’d make it a few weeks or months before I’d inevitably kill them due to various reasons.
And Chris and I certainly won’t forget about the one time I wanted to fertilize our tiny little 8x12 patch of grass in the backyard and killed the entire “lawn” by over-fertilizing and then had to reseed it from scratch. Major oops!
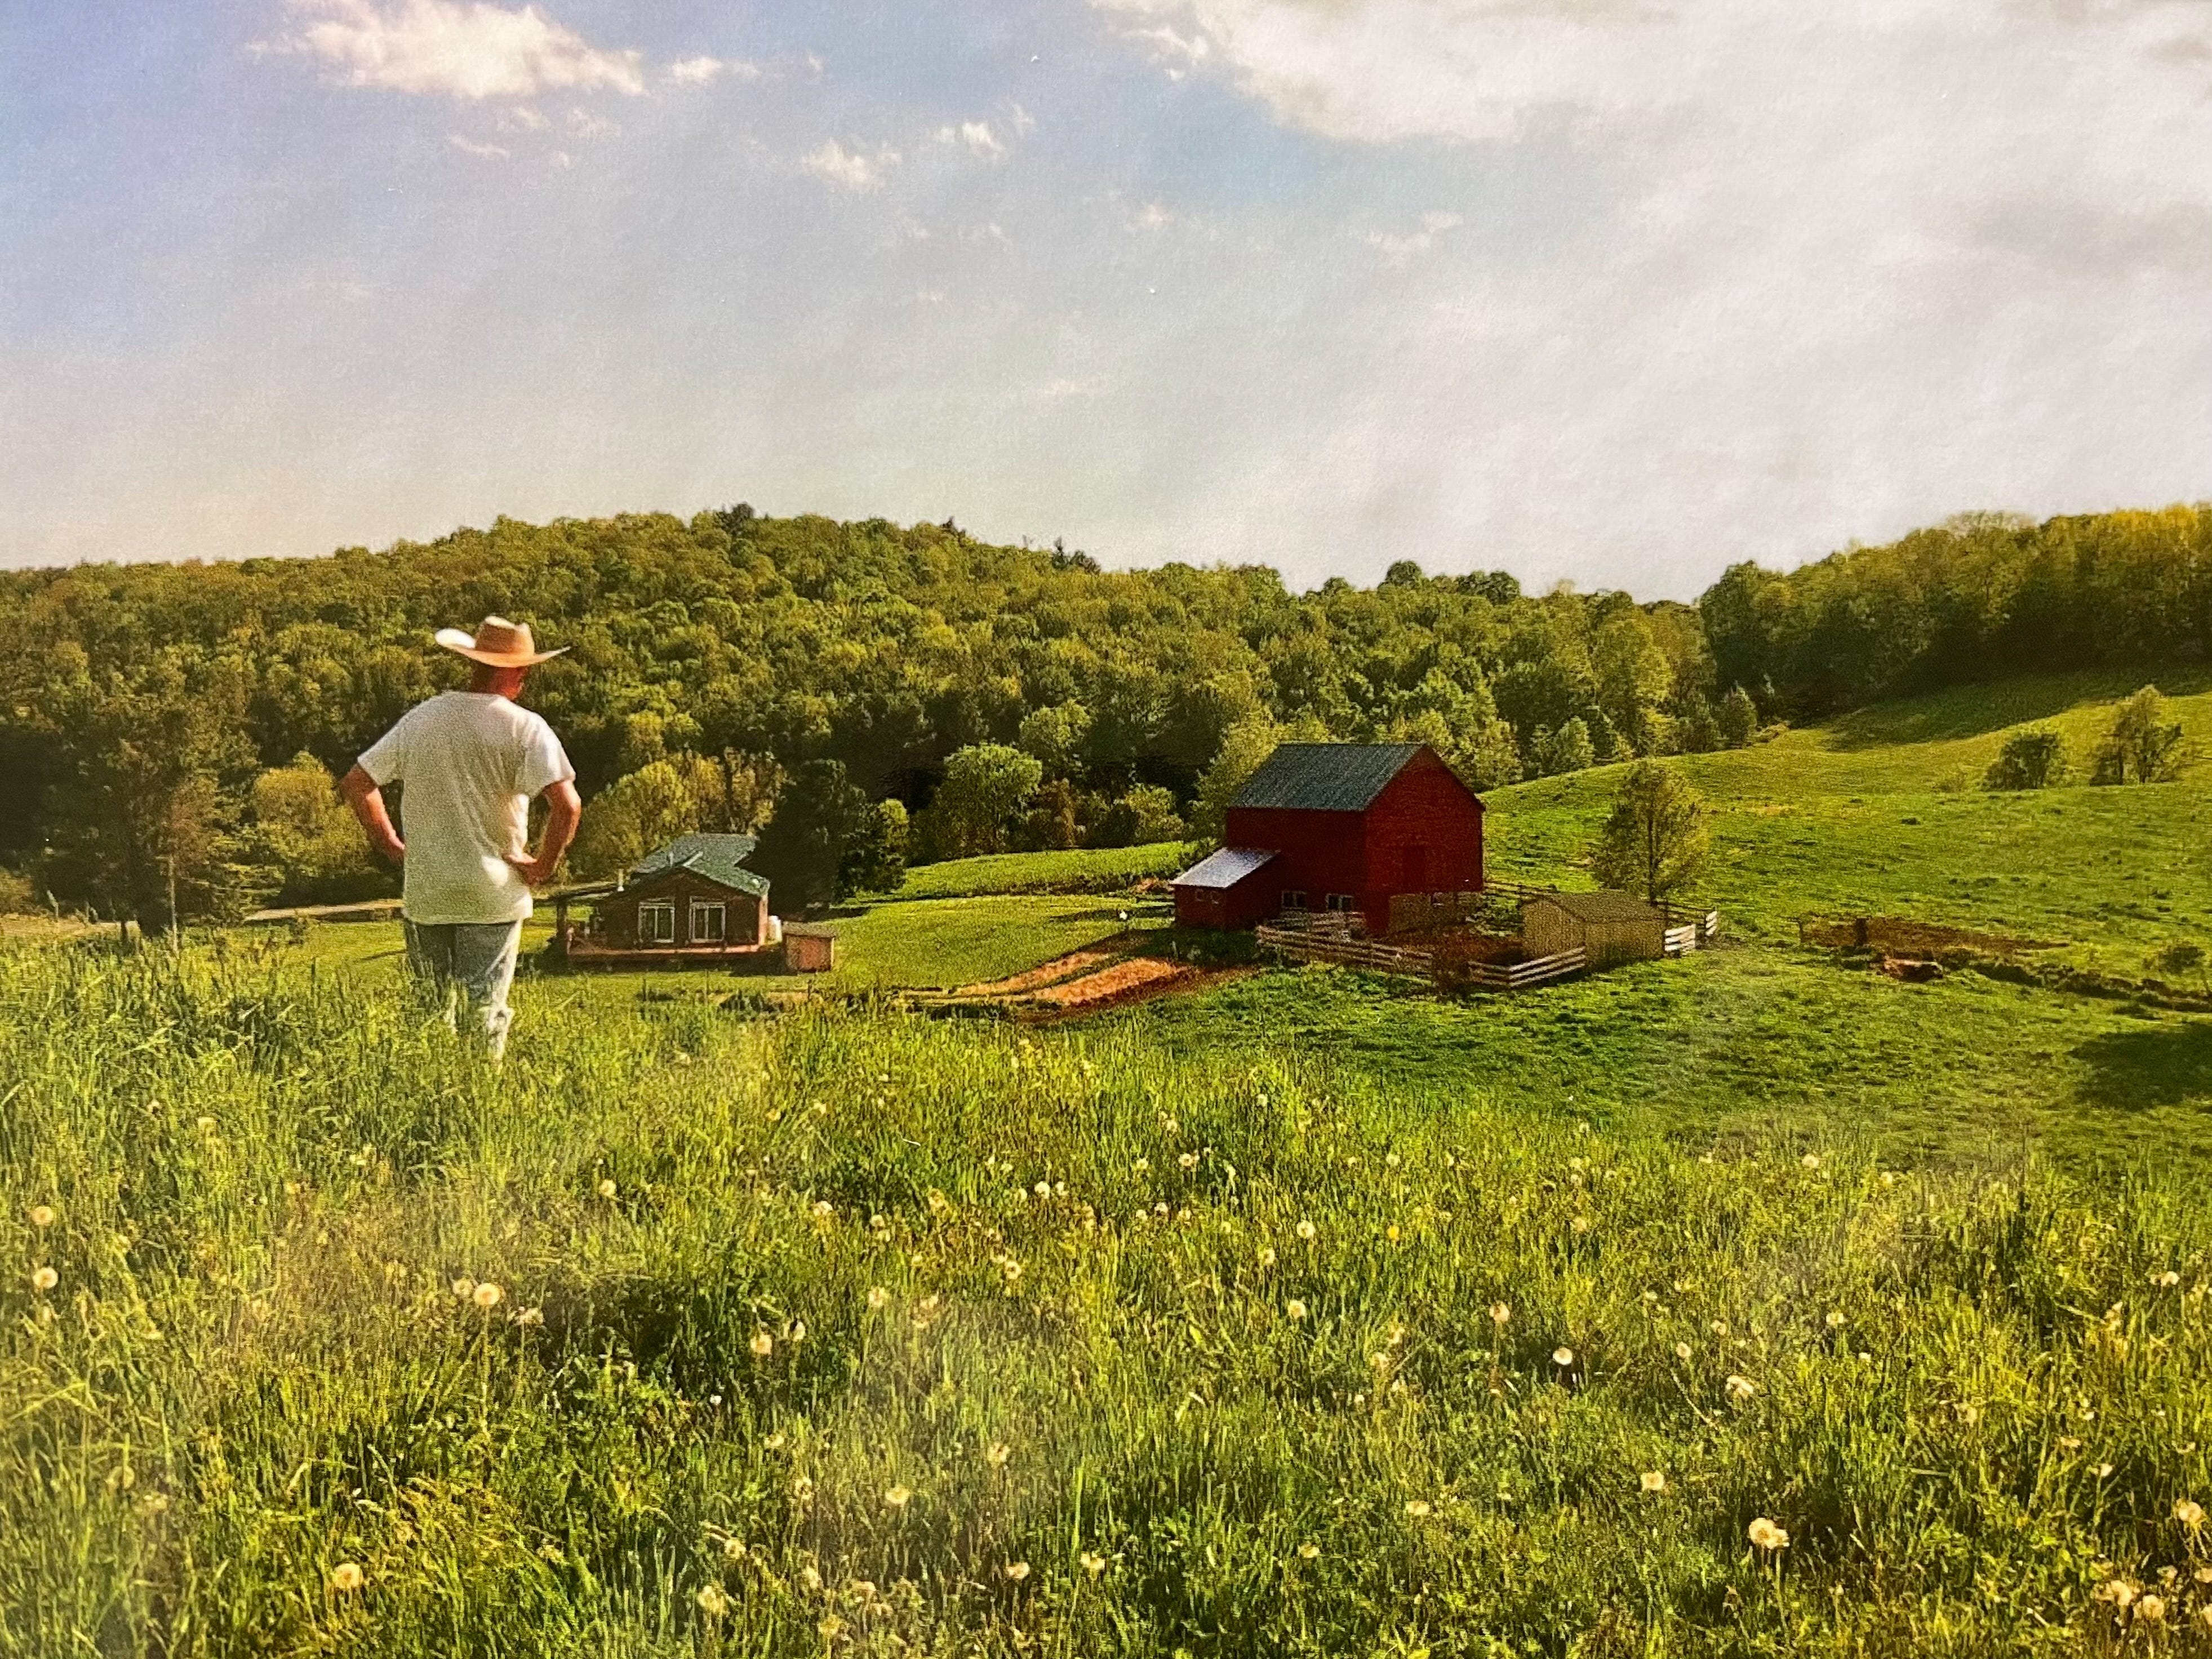
So when we moved to a 58-acre organic farm, having had very little gardening experience and mostly failing at the experience I did have, walking David’s lush, full, beautiful, well-maintained gardens had me feeling quite intimidated and wondering many times if we were really up to the task.
He’d suggested that maybe we seed parts of the gardens in cover crops and work with smaller areas until we got our footing. But I was determined to learn and learn quick, and while some things haven’t gone well, I’d say overall we’re holding our own as self-taught, first-time gardeners with massive spaces to maintain.
Back in 2021 when we’d just bought the house and David was telling me about some of his favorite gardening books, he also mentioned he had a gardening philosophy he’d come up with and written down years before. Recently, I asked him to see if he could dig it up and dust it off so that Chis and I could read it, and if he was ok with it, that I share it with you.
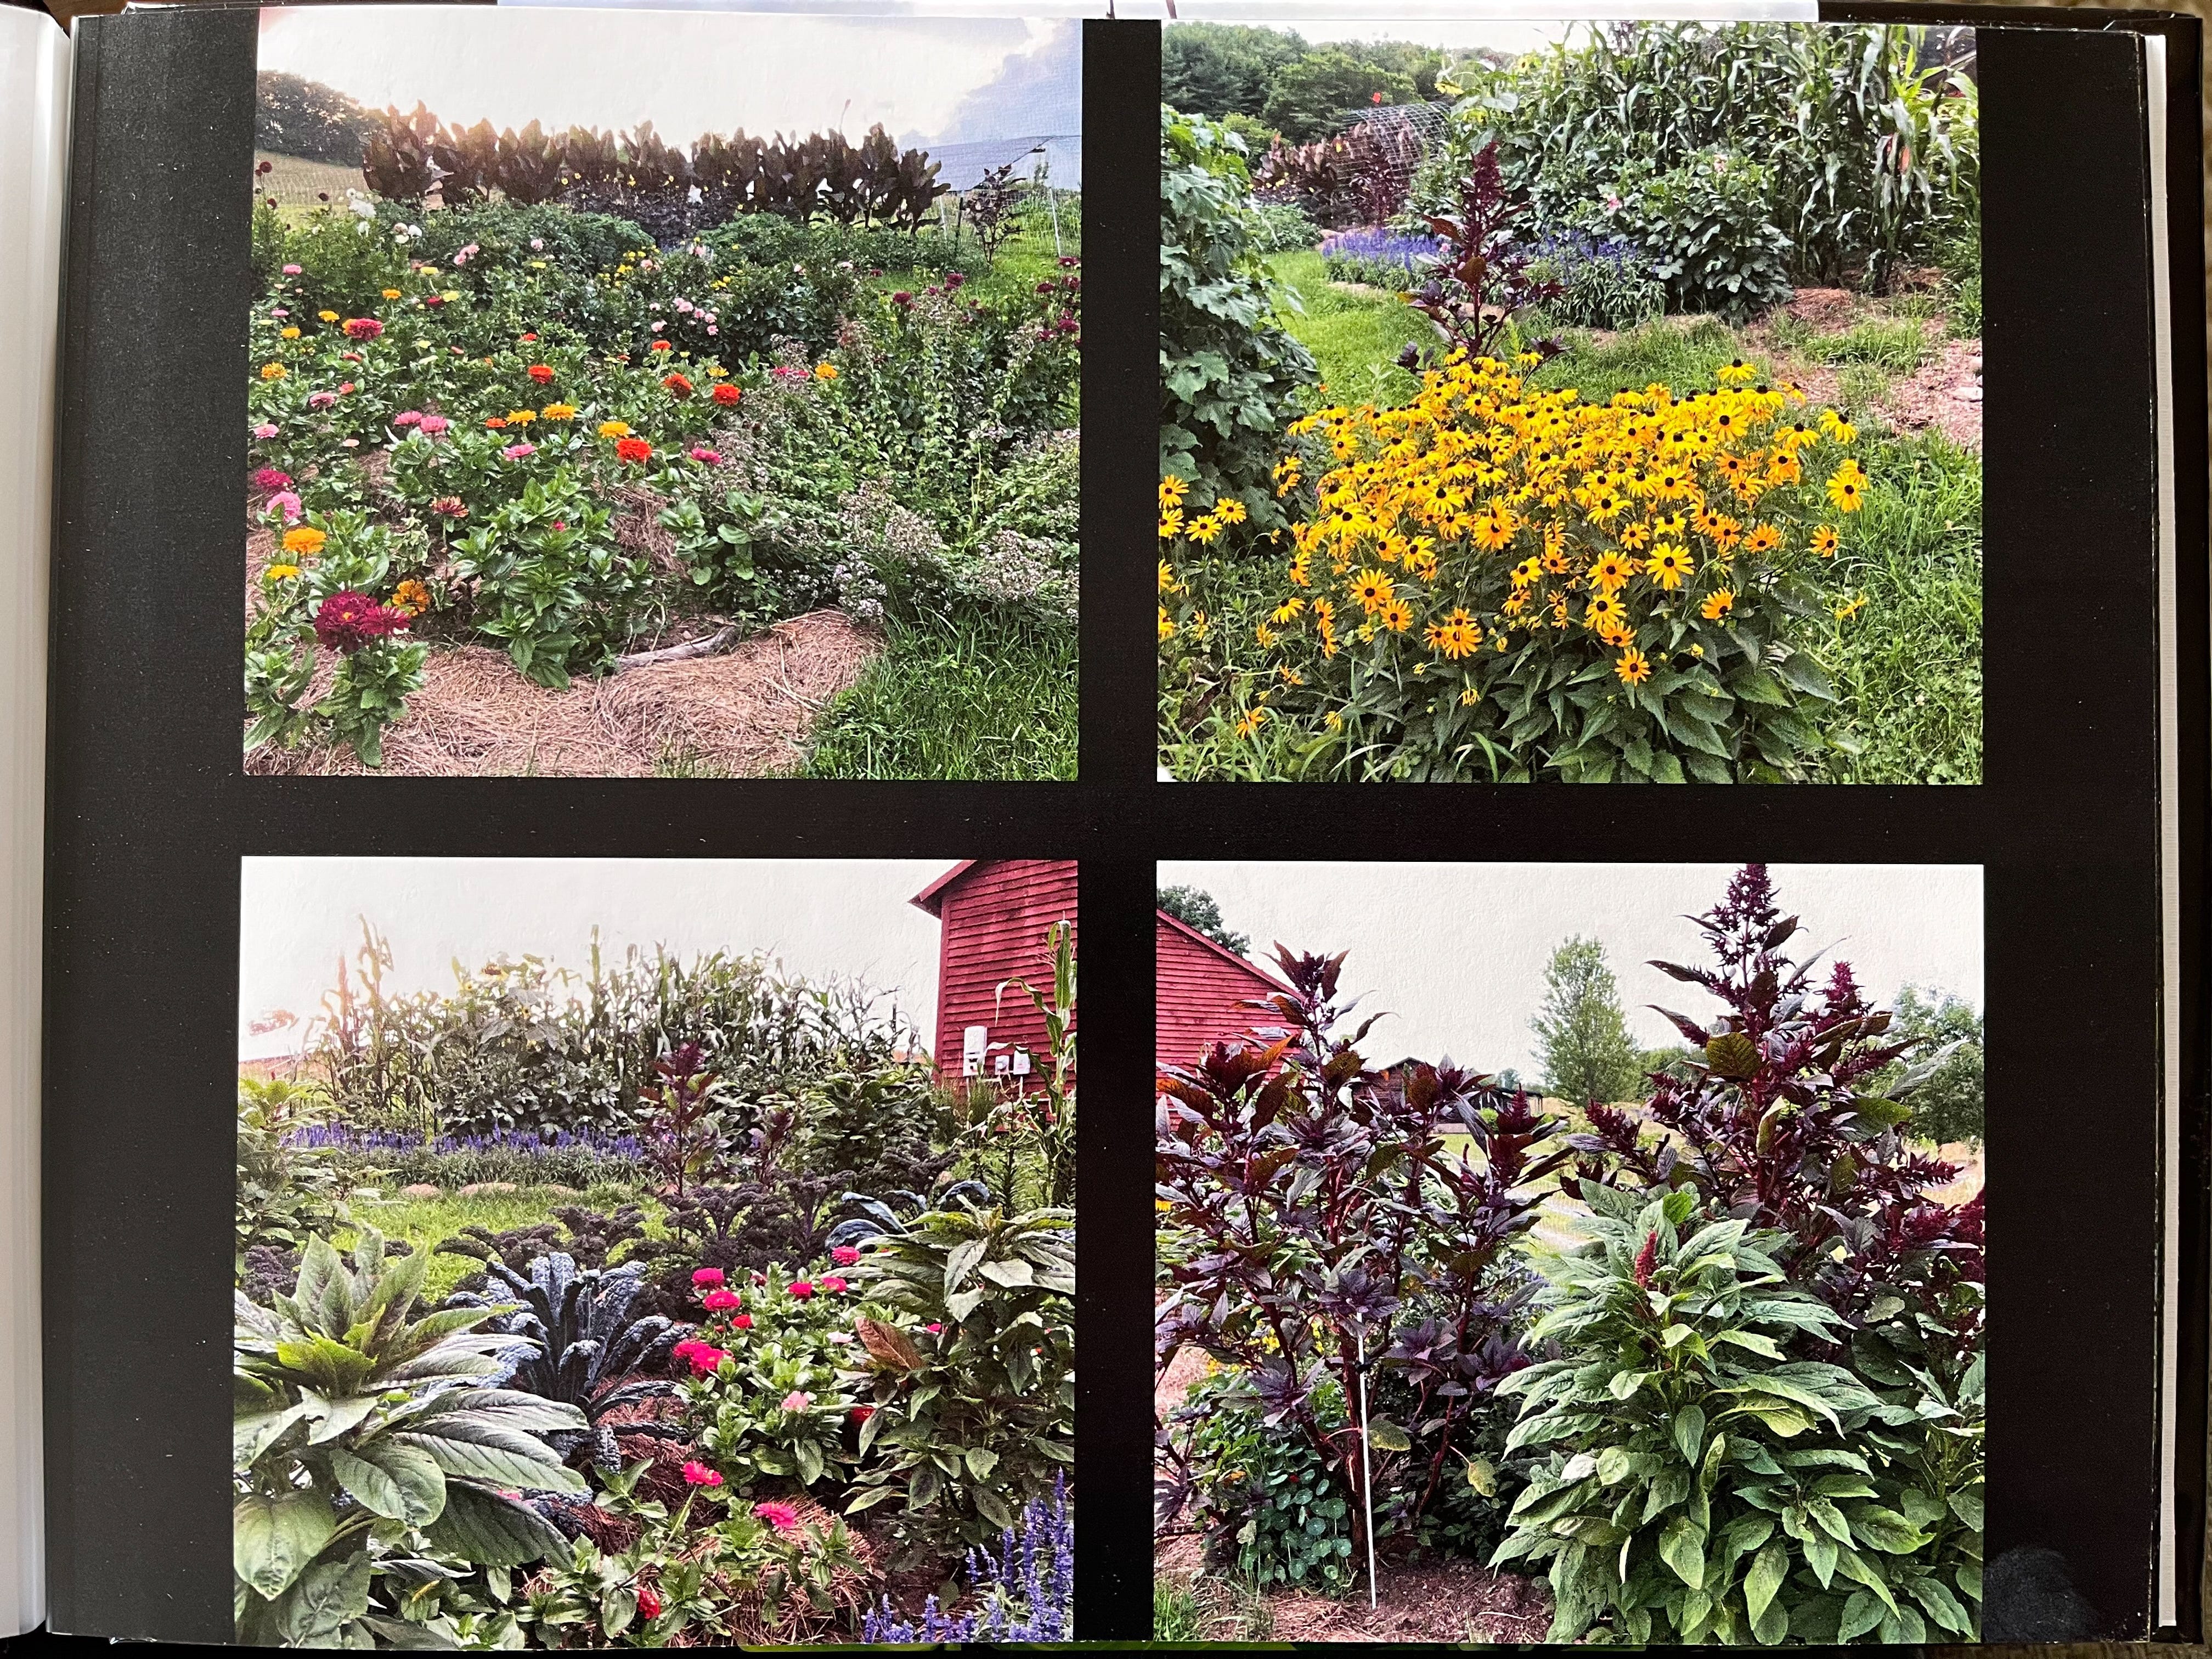
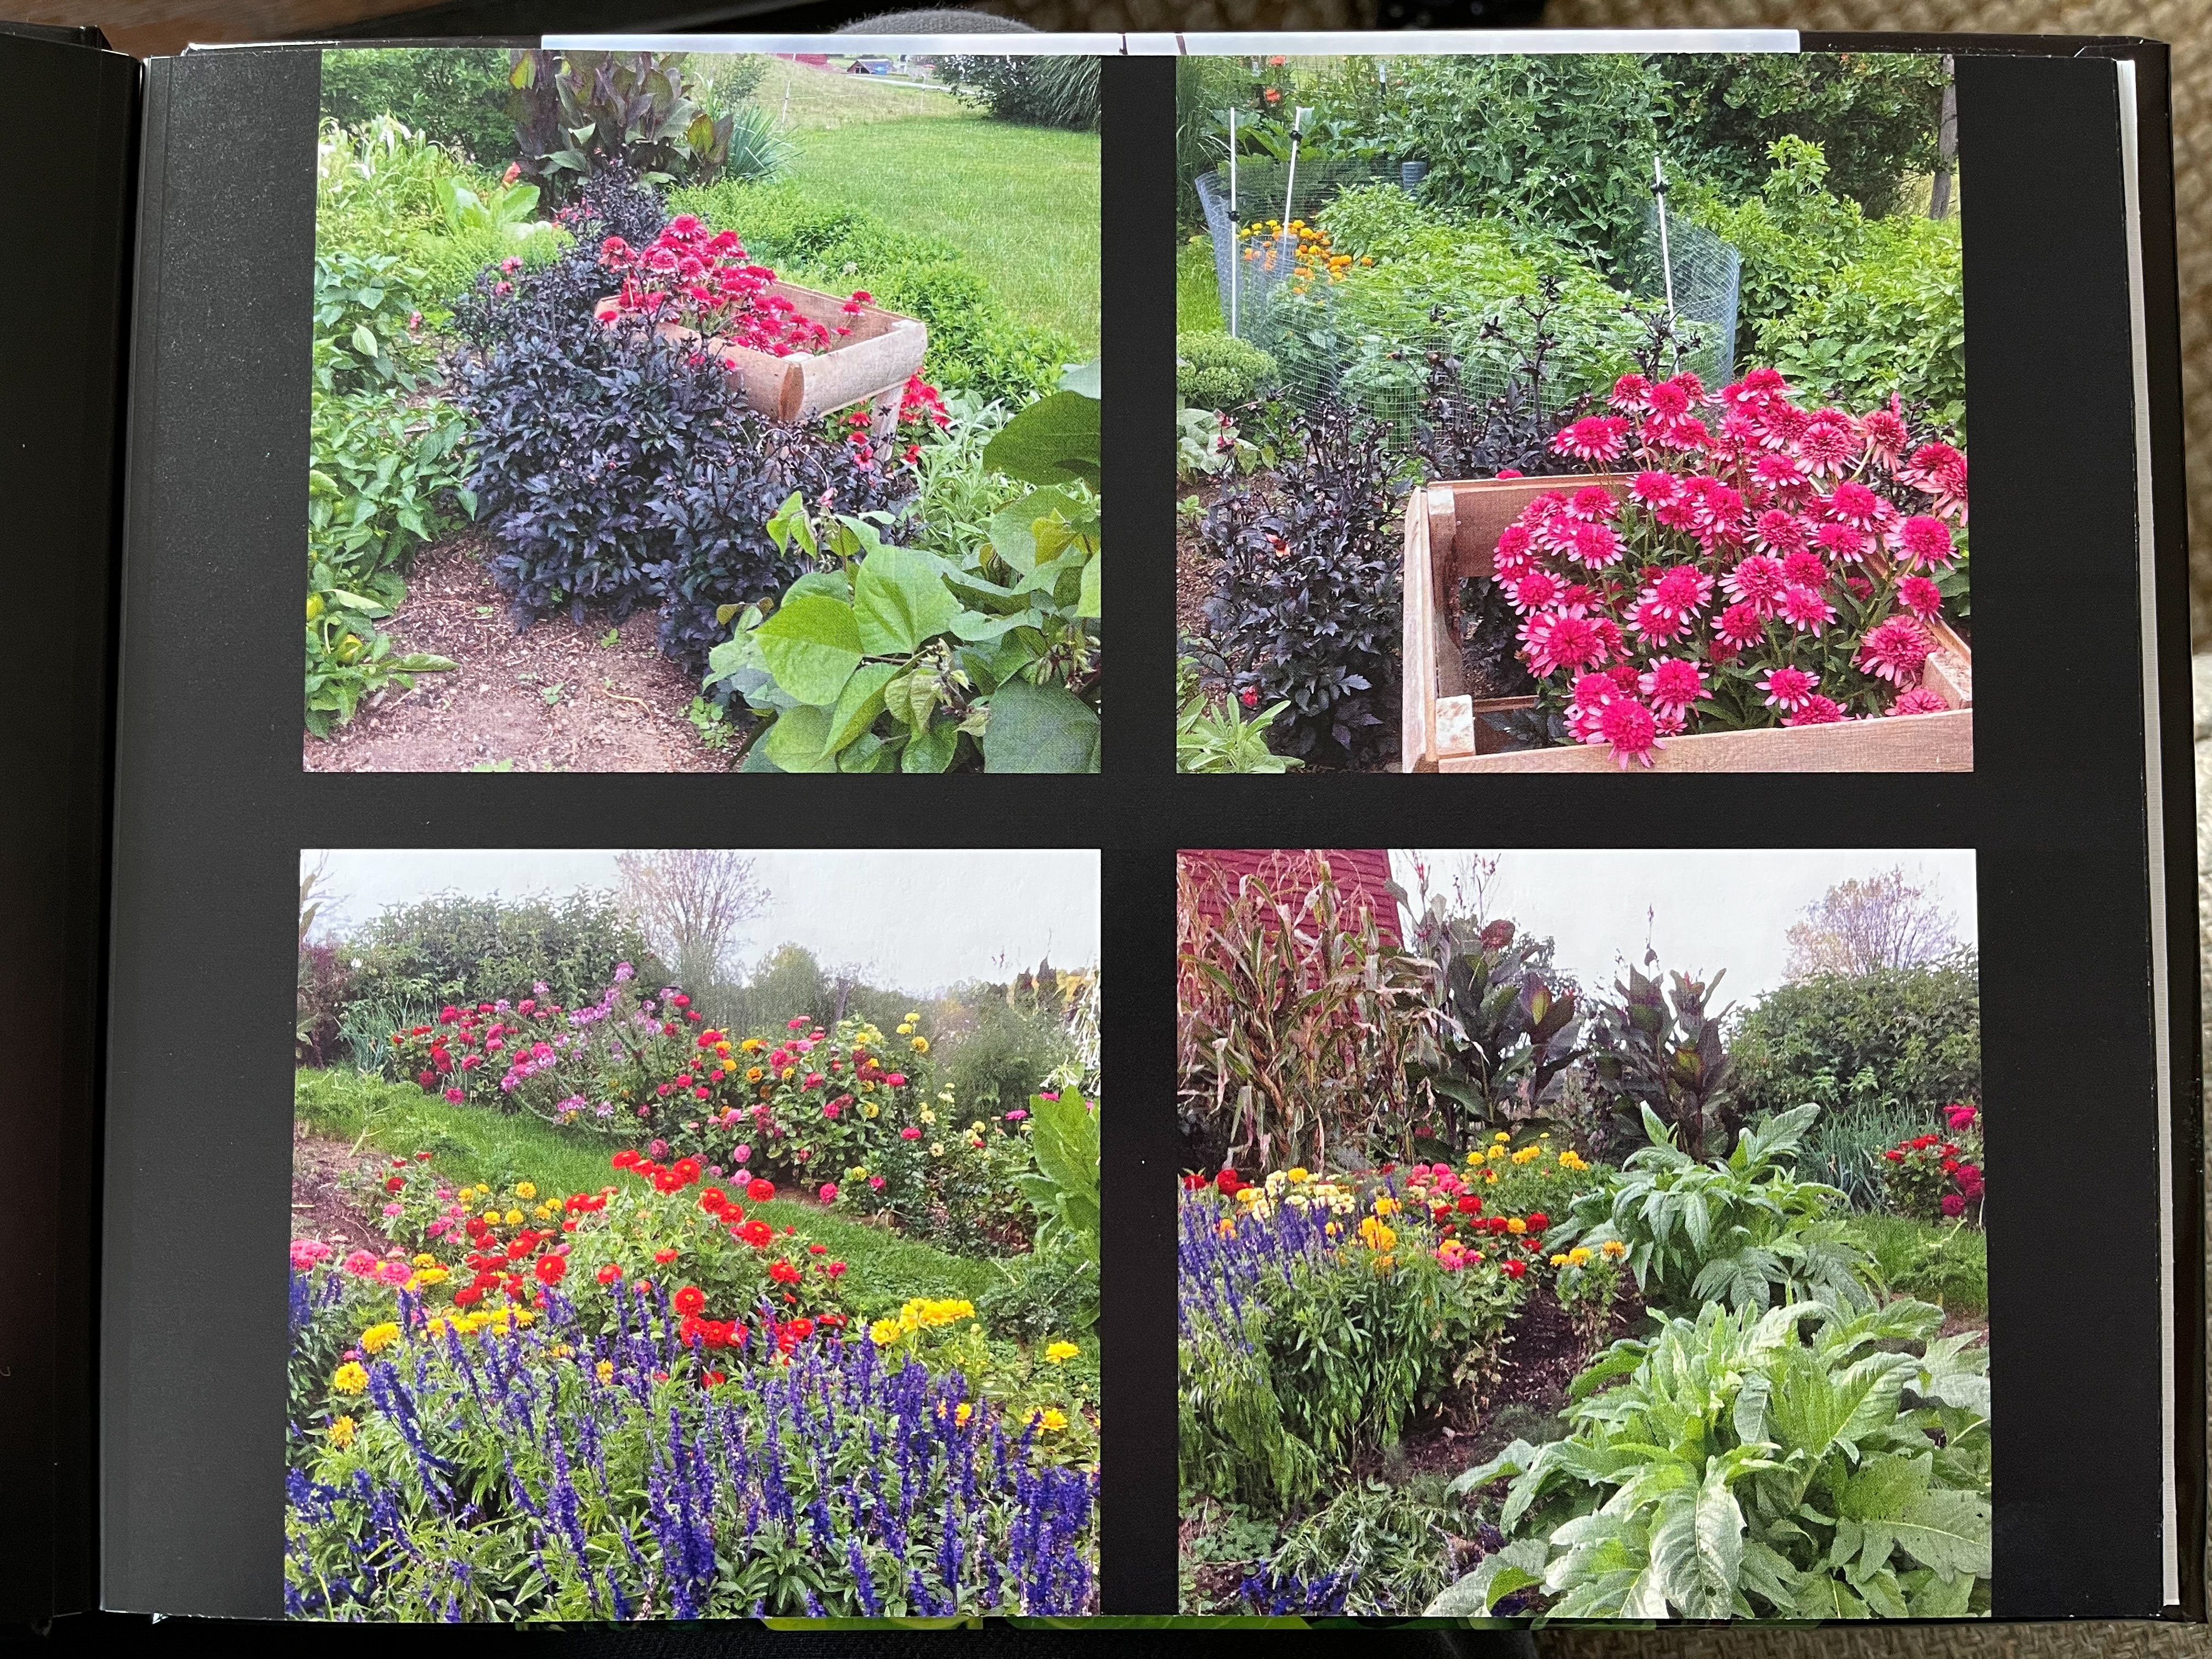
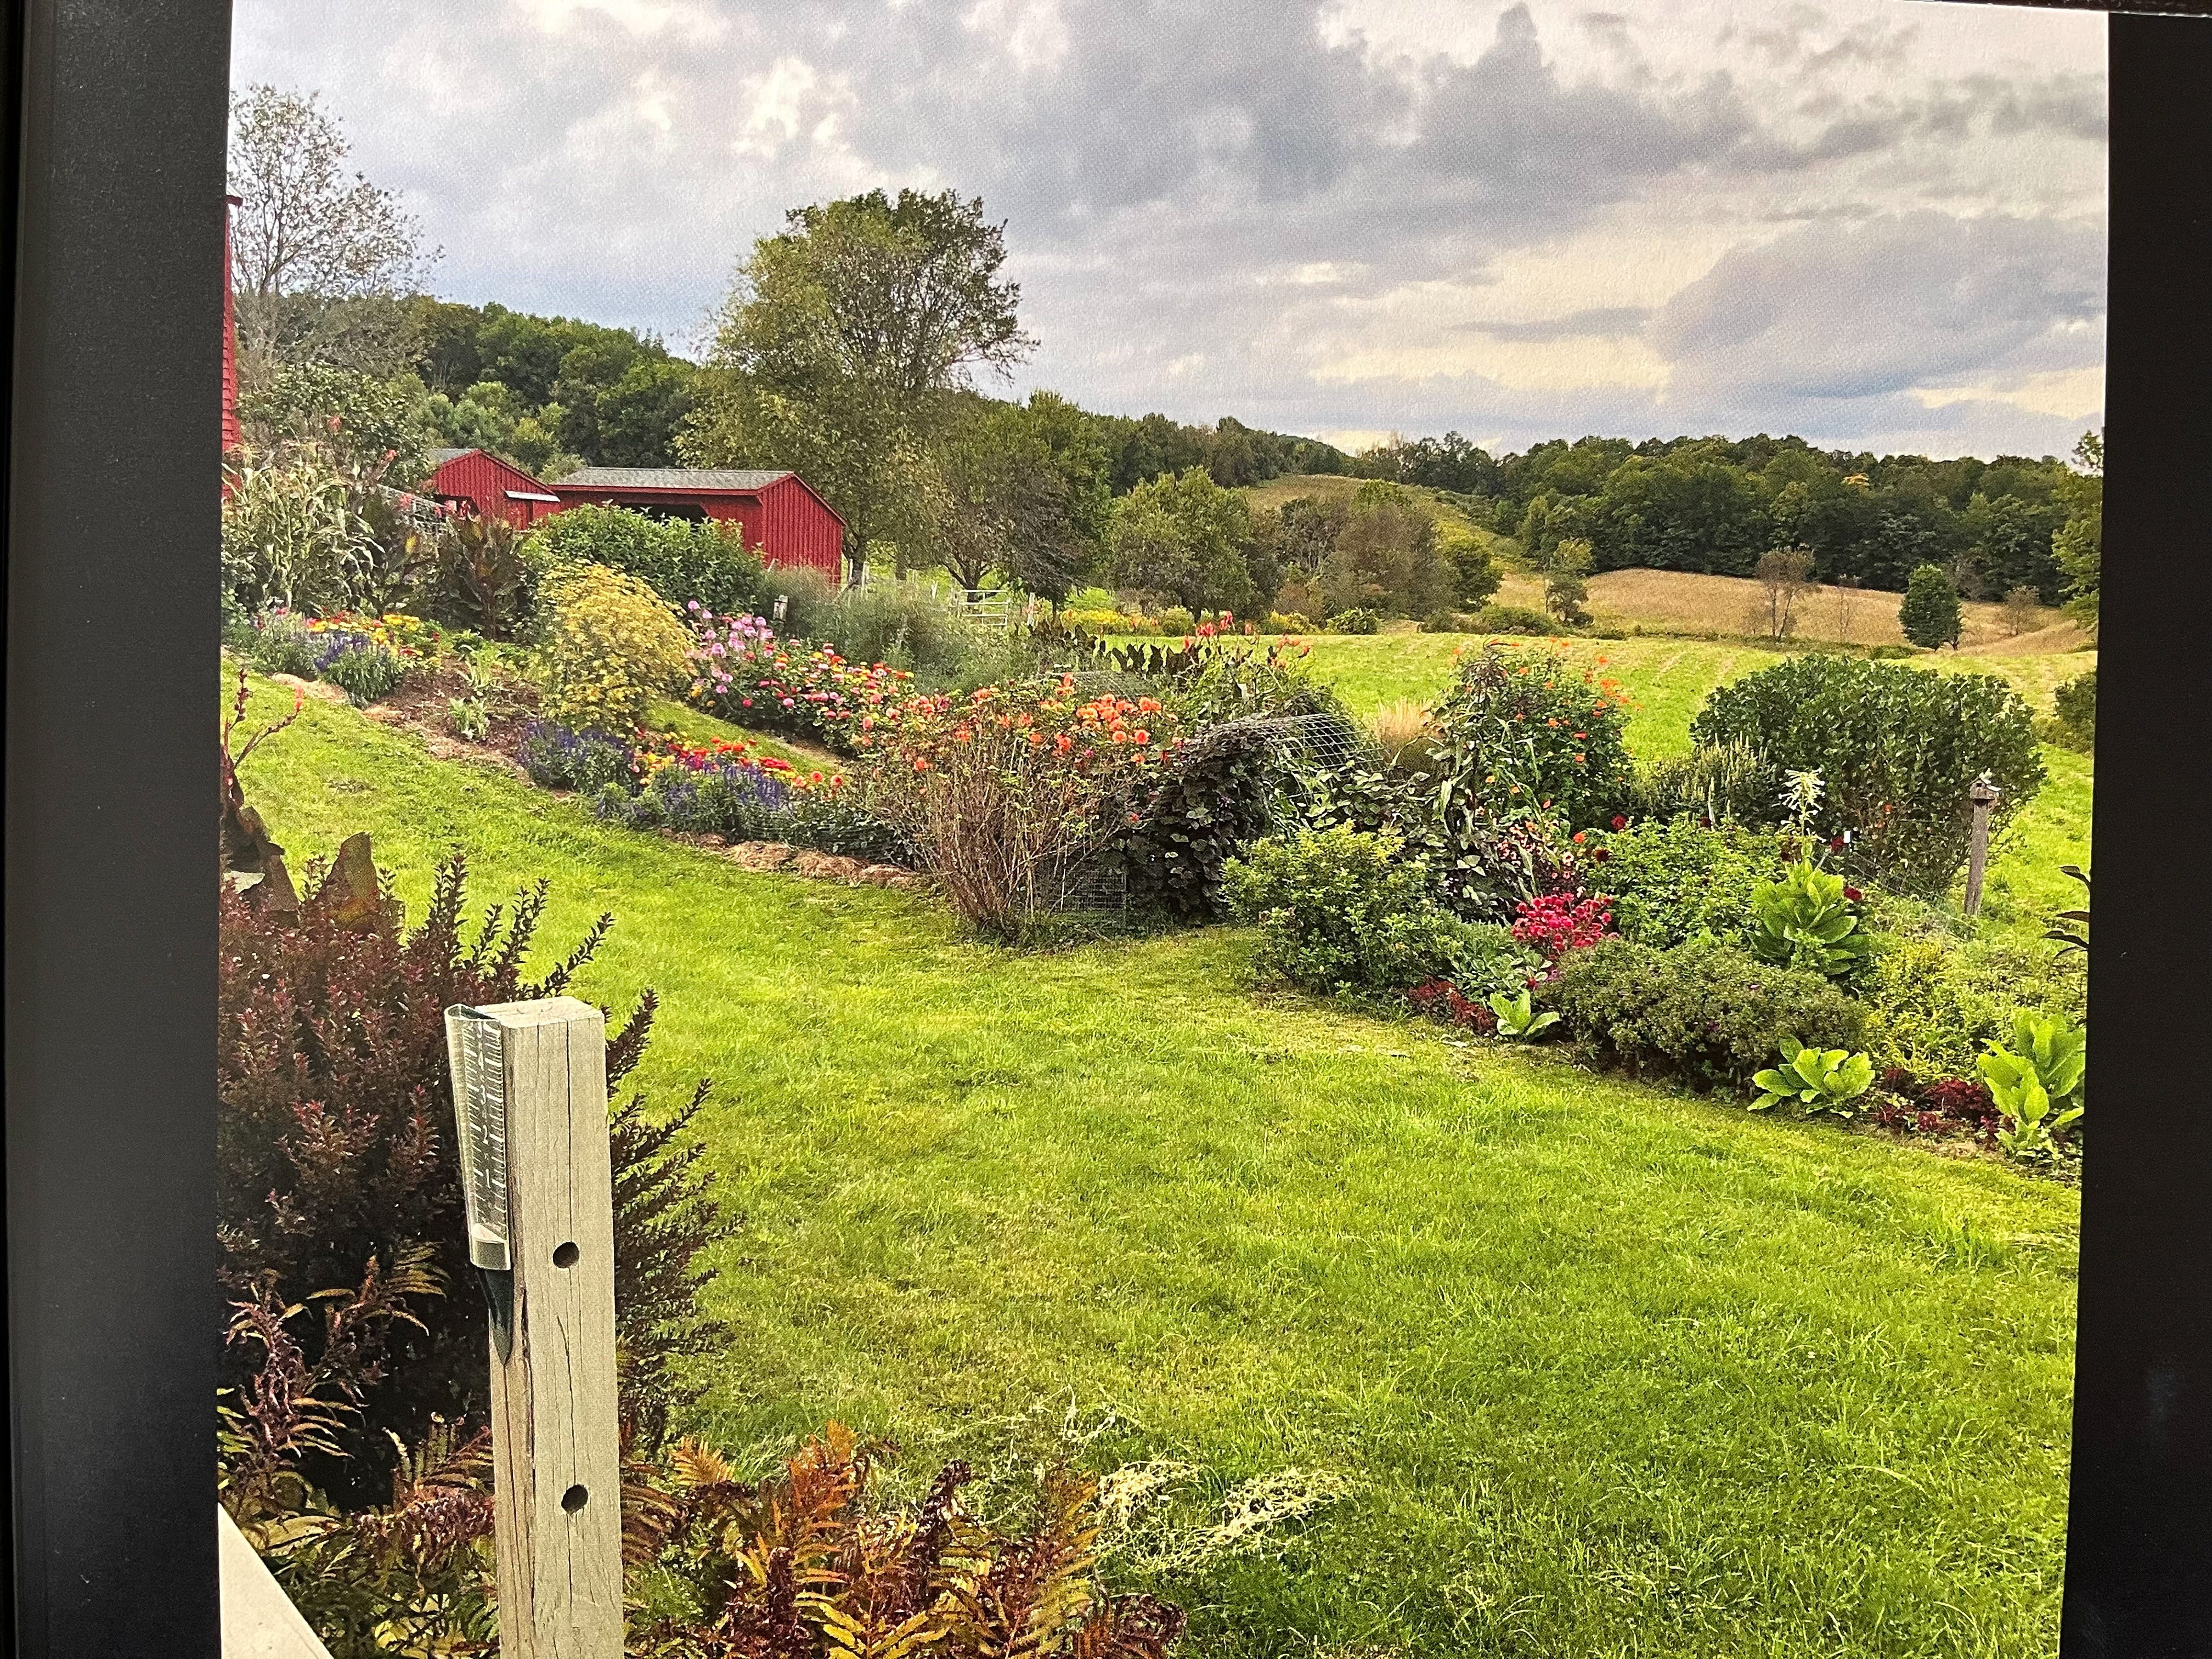
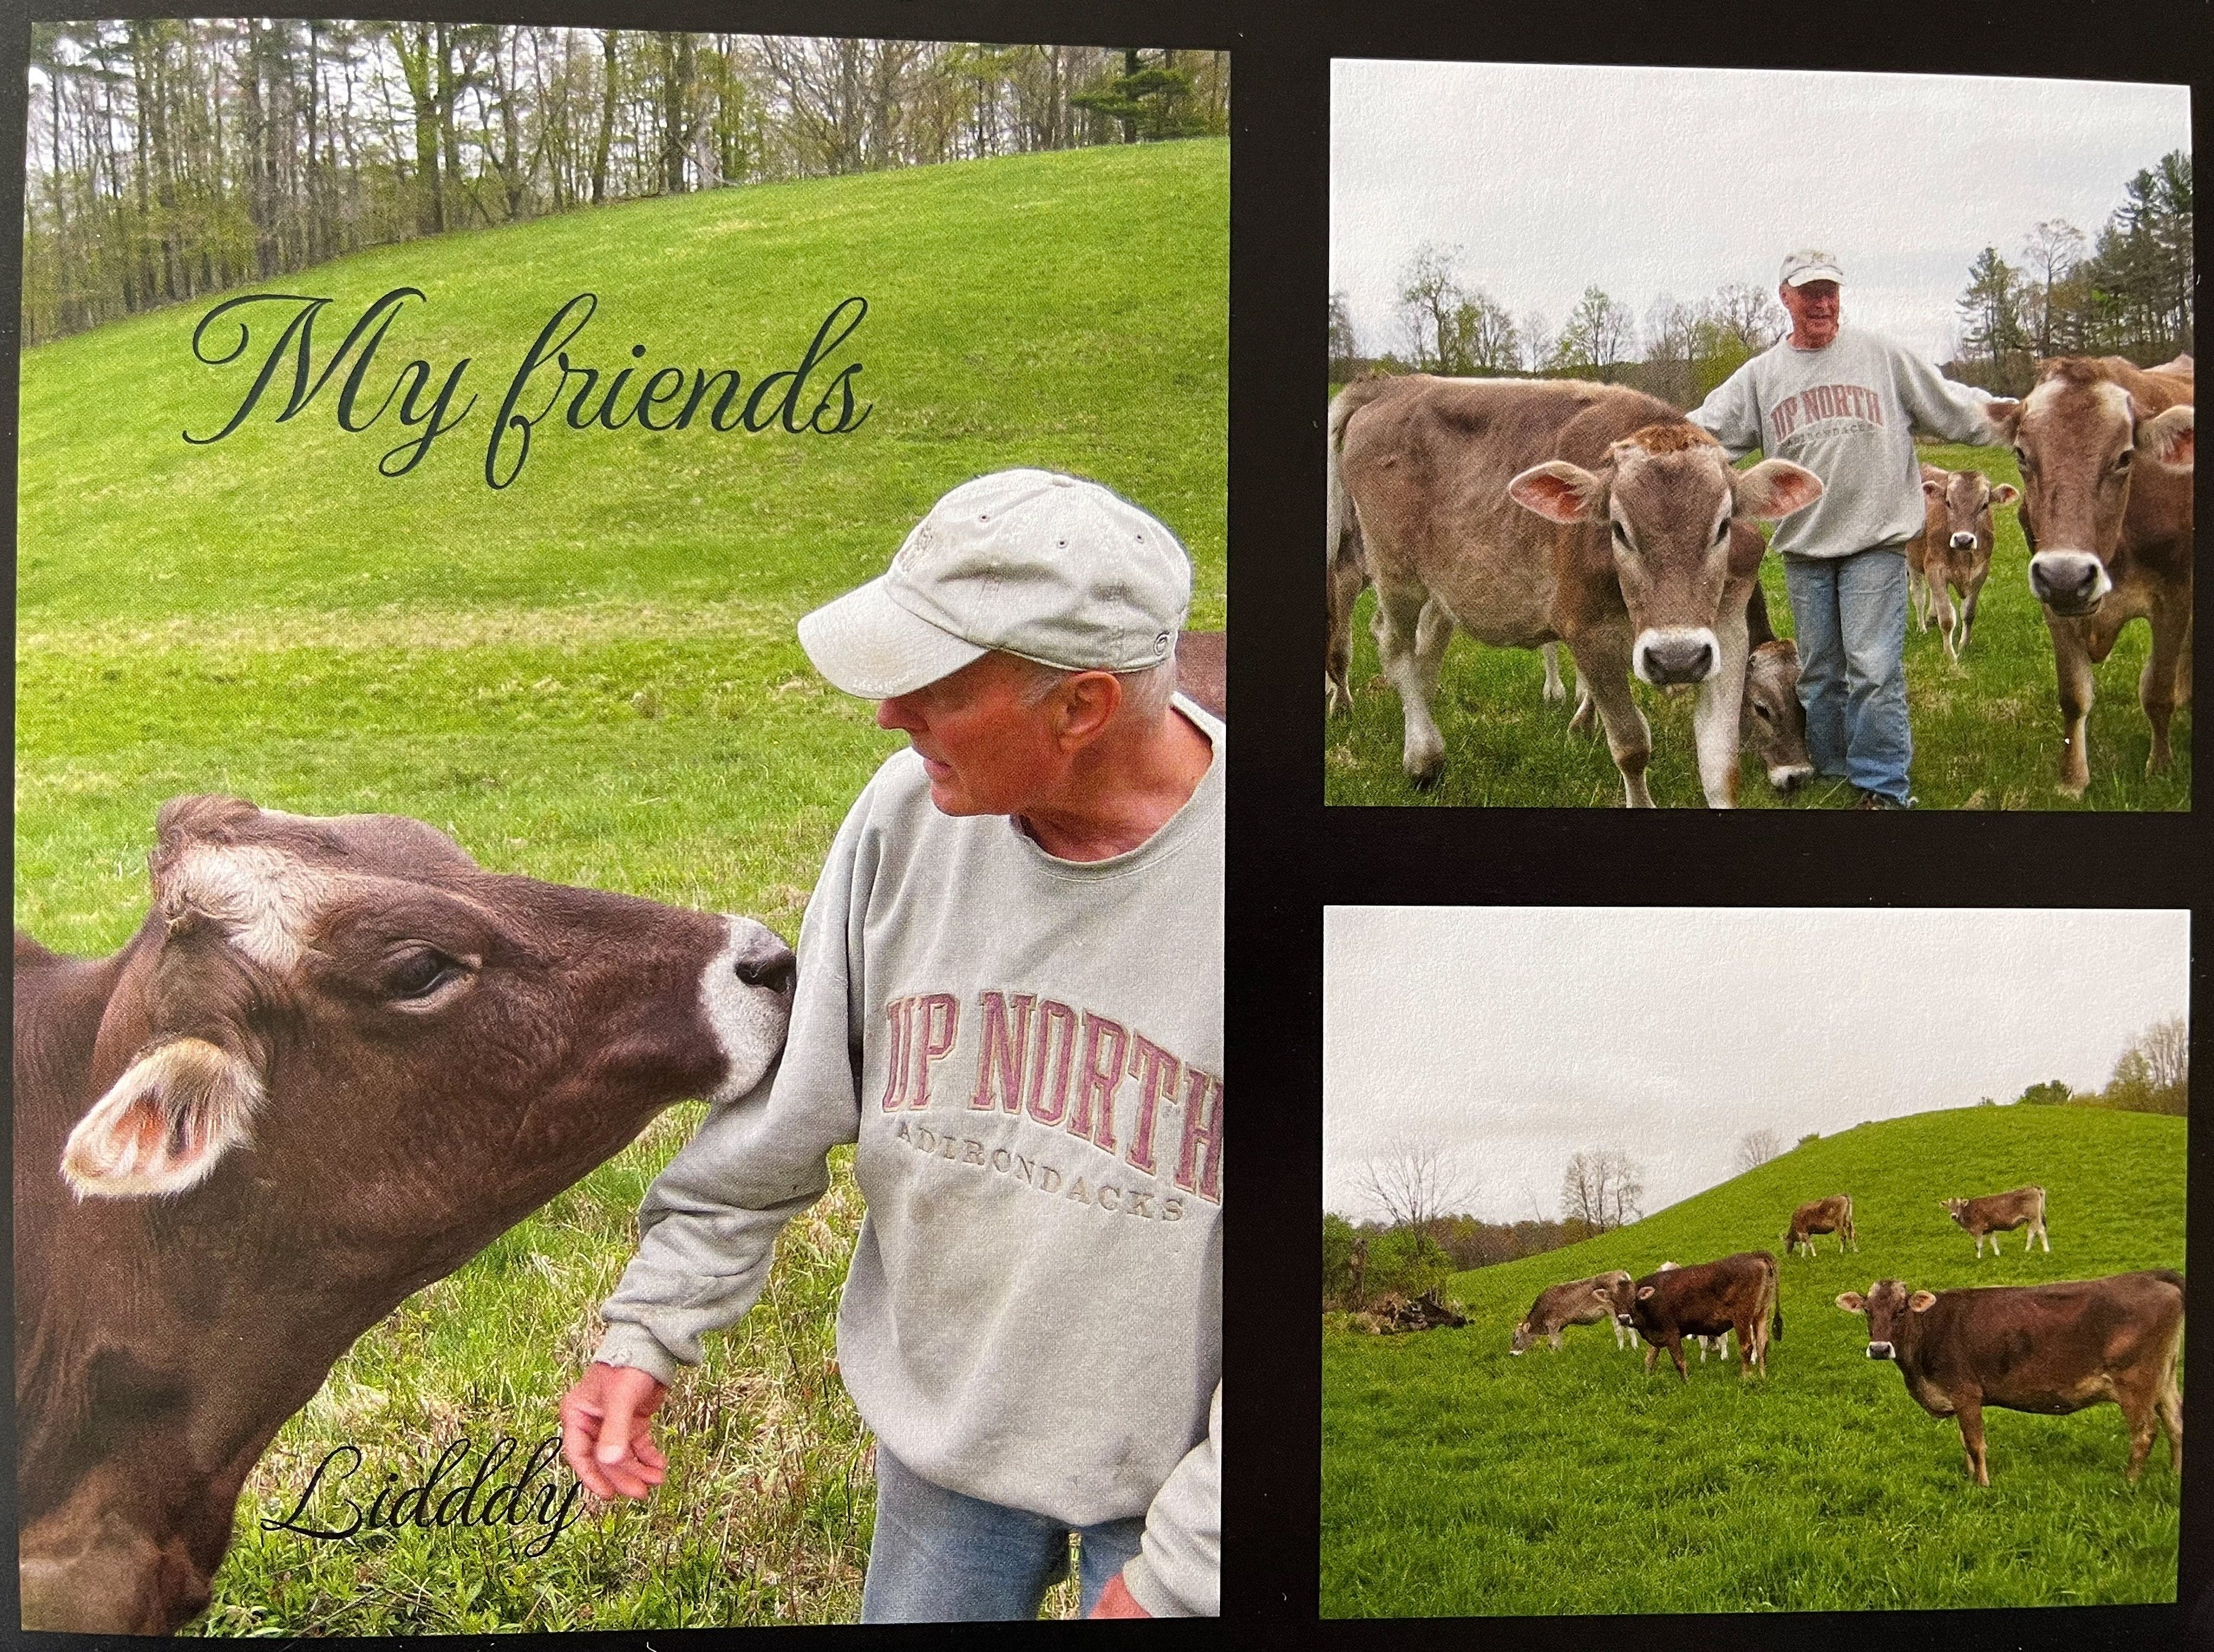
One year, this farm and his gardens were part of the community garden tour. He wrote up this document and handed it out to everyone who visited. I’m going to share it just as written so you can get the full experience and maybe take a few tips or tricks from his lifetime of gardening, as certainly we have! Interspersed are photos I took of the photo books he shared with me of his gardens.
This year in particular we’re applying a lot of what David has learned and practiced, and we’re loving the way it's enhancing our growing spaces and feels like it’s carrying forward what he learned and applied. I love being able to share it with you, now, as perhaps his lifetime of lessons might spark something in you.
It’s really something else to go from a conventional gardener to an organic gardener. It’s really something to change your way of doing something from the way you’ve always done it (because you were taught by people who’d done it the way they’d always done it), and then later in adulthood to completely change course. I love that about life…about being a human…the way we evolve and grow and change and do better when we learn how to do better.
So with that, let’s get to David’s gardening approach.
Enjoy!
David’s Farmstead Vegetable Garden (for food and flower)
Gardener’s Statement:
I have been gardening since about age 9. And though since retirement (from teaching and being a corporate facilitator) I have worked in a number of garden centers, I am not a professional gardener.
Up until six years ago, I used conventional techniques—gardening in rows and tilling and weeding. The three resources listed below changed my whole thinking process of how to approach my garden—both spiritually and in technique. And though no method of gardening will work equally well for everyone, this one is working for me.
I’ve learned not to trust everything I read about gardening, and I’ve come to do what I do through trial and error and through not being afraid to experiment. I encourage you to be open to the possibility of new ideas, and I also encourage you to not trust any of what I say. Check this gardening method out for yourself—even if only on a small part of your garden; then through your own experience you can own the truth of it (or not).
Three sources that have highly impacted my move from conventional gardening to gardening the way I do now (copies on display table):
Ruth Stout and Richard Clemence, The Ruth Stout No-Work Garden Book, 1971.
The Findhorn Community, The Findhorn Garden, Pioneering a New Vision of Humanity and Nature in Cooperation, 1975.
Sally Jean Cunningham, Great Garden Companions, A Companion-Planting System for a Beautiful, Chemical-Free Vegetable Garden, 1998.
Some notes you might find of interest:
No till: though not certified, this garden is organic. I simply move the mulch in the row or spot, then I plant.
Mulch about 5-10 inches deep depending on the time of year. Mulch both spring and fall. The garden is continually being fertilized; it is full of angle worms, and the soil remains very soft and workable—even with the fingers. For mulch I use old hay and leaves (which I get for free from the town—I just have to load and haul them myself). Some people think that mulching with hay is not good because of weed seeds; you just need to mulch thick enough so the weeds will not come through.
I typically mulch with a covering of hay in the fall, and possibly manure if I have it; then in the spring I plant directly into the mulch and put a cover of mulch on top after seeds have sprouted or after new plants have been set out. I find the mistake most people new to this type of gardening make is that they don’t put on enough mulch. And, if weeds start popping up during the summer, I do not pull them; I simply add more mulch. In three years I have not added any compost to my gardens; nor have I worried about soil ph. Healthy soil helps grow healthy plants; healthy plants promote less disease.
Over the period of mid-May through mid-June, it takes me a total of about two full weeks spread over that timeframe to plant and mulch the three gardens; then, my work is mostly done for the summer—other than daily monitoring and harvesting, and sitting on the deck to watch the gardens grow.
Mostly weedless from mid-June through frost. Weeds grow when soil is disturbed (tilled) and when the sun reaches the soil. With mulching, the soil is not disturbed and the sun does not reach the soil—a perfect recipe to keep weeds at bay.
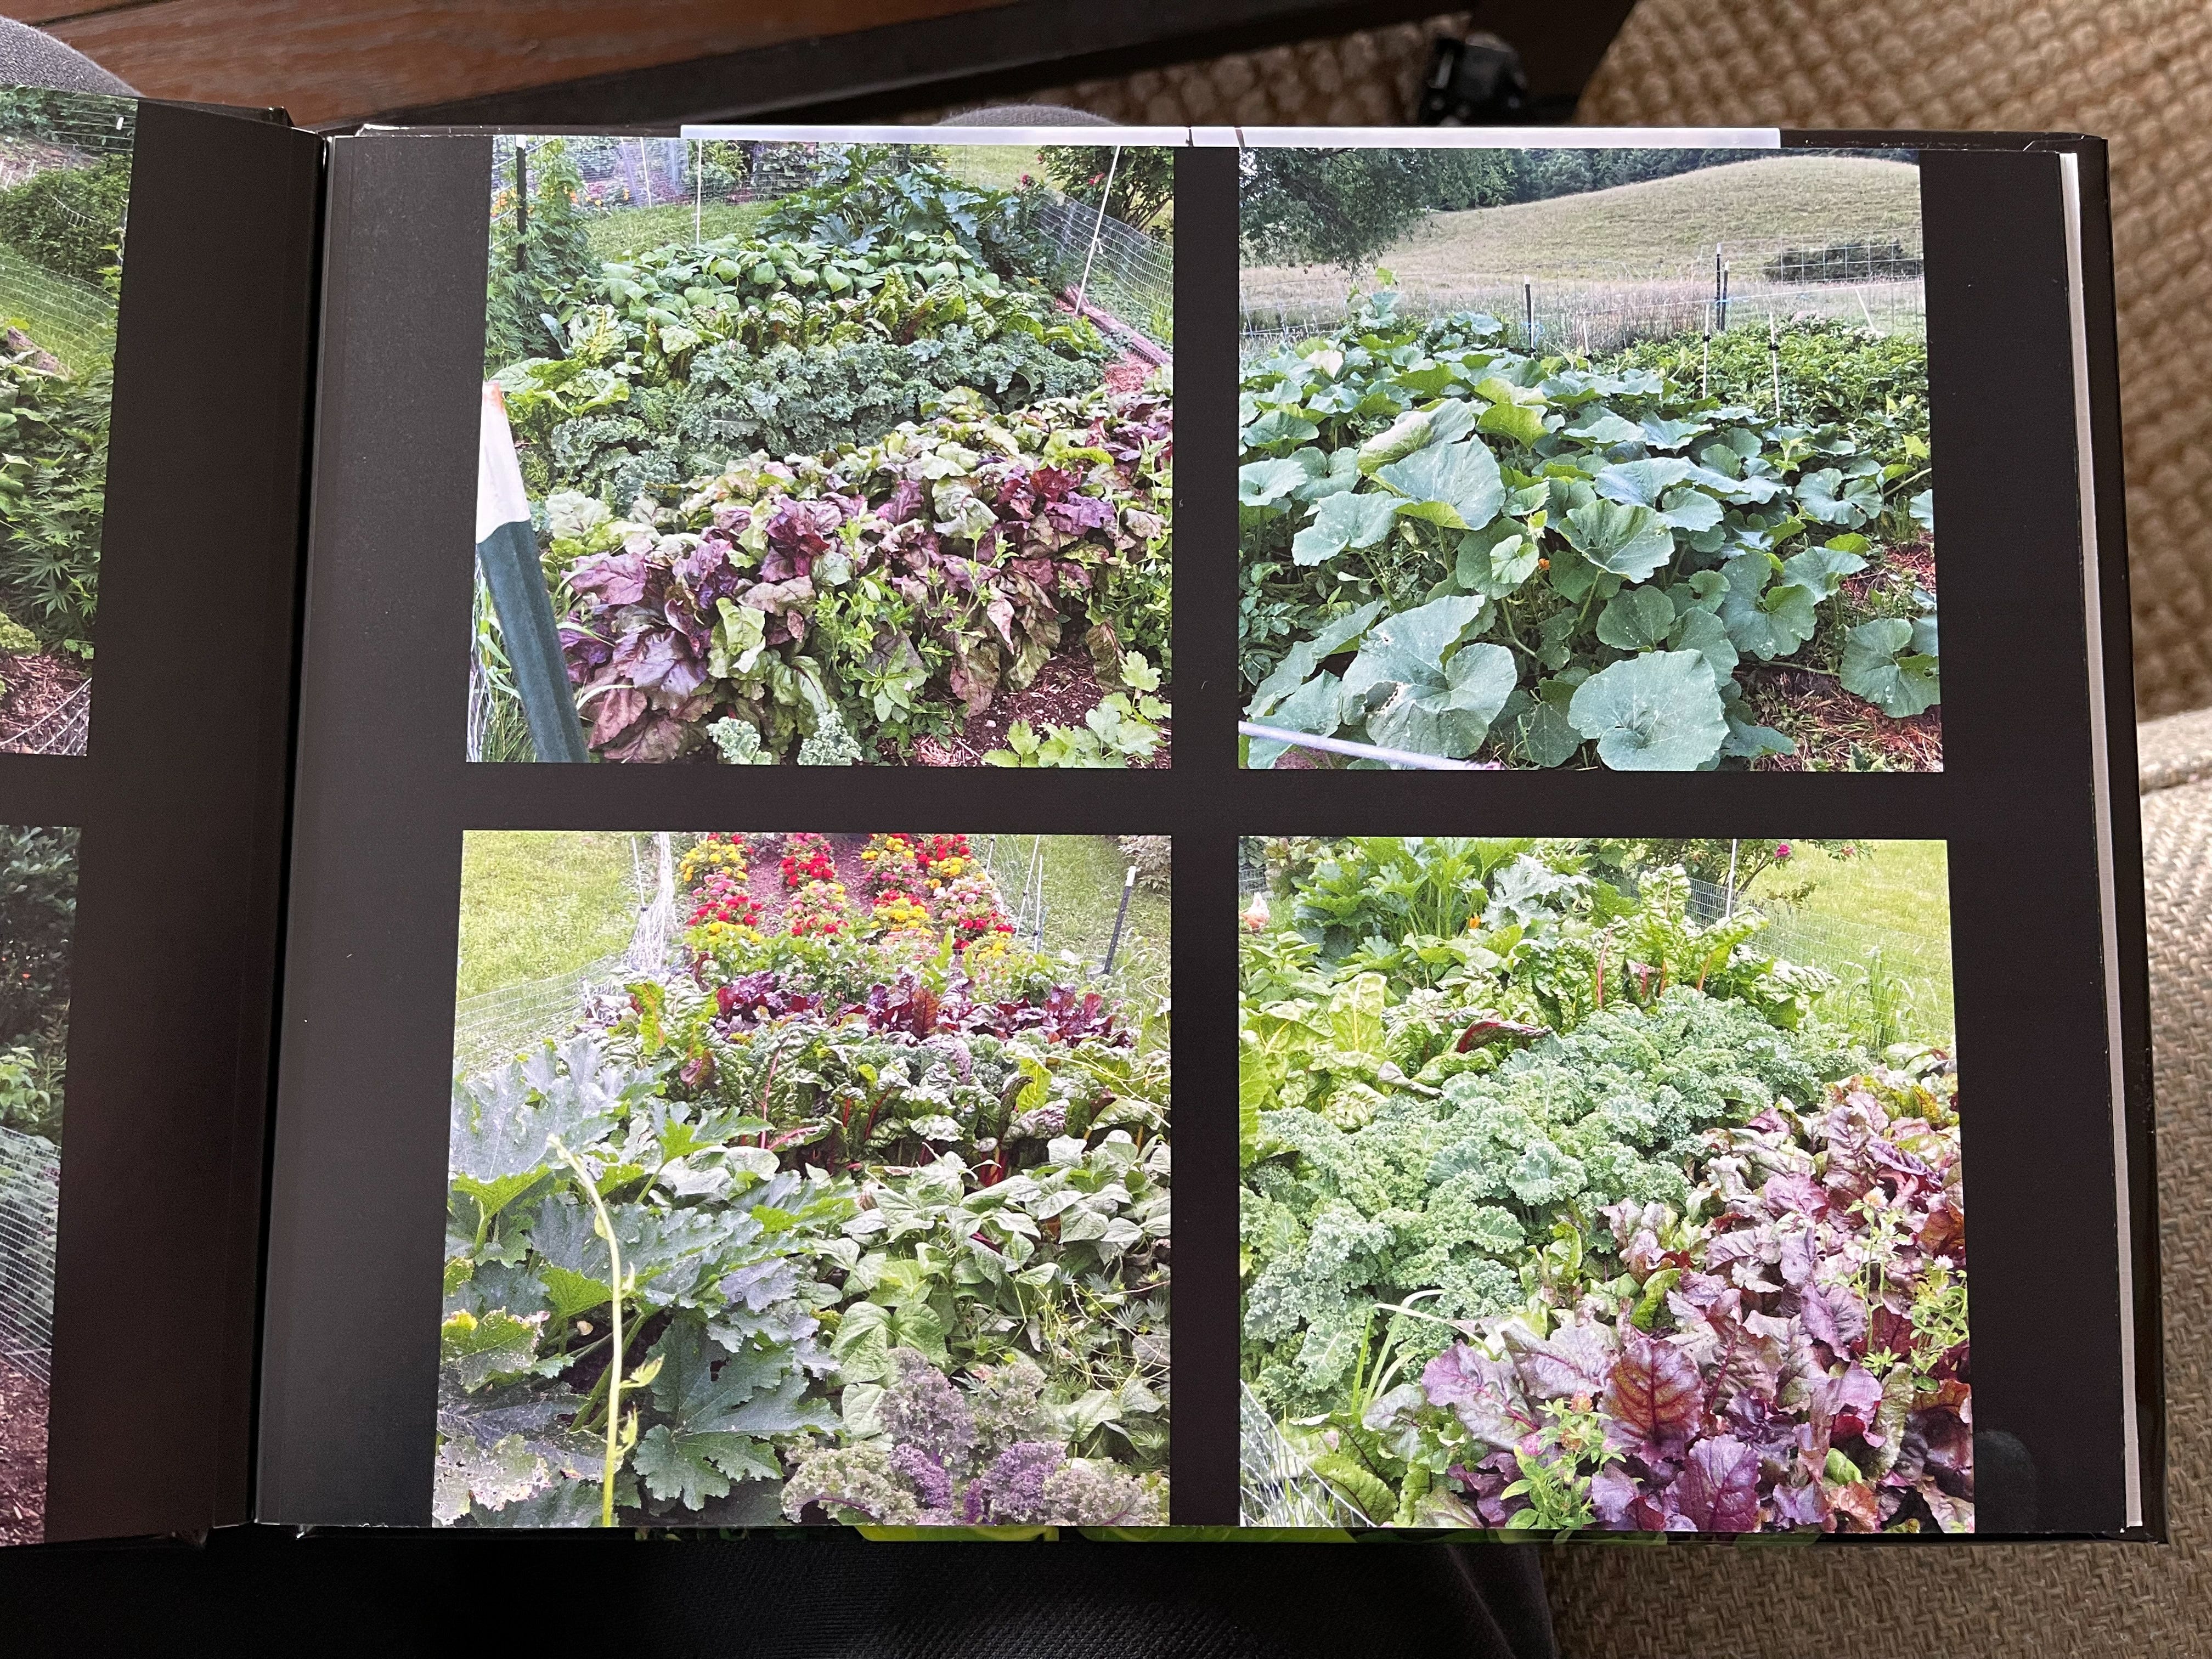
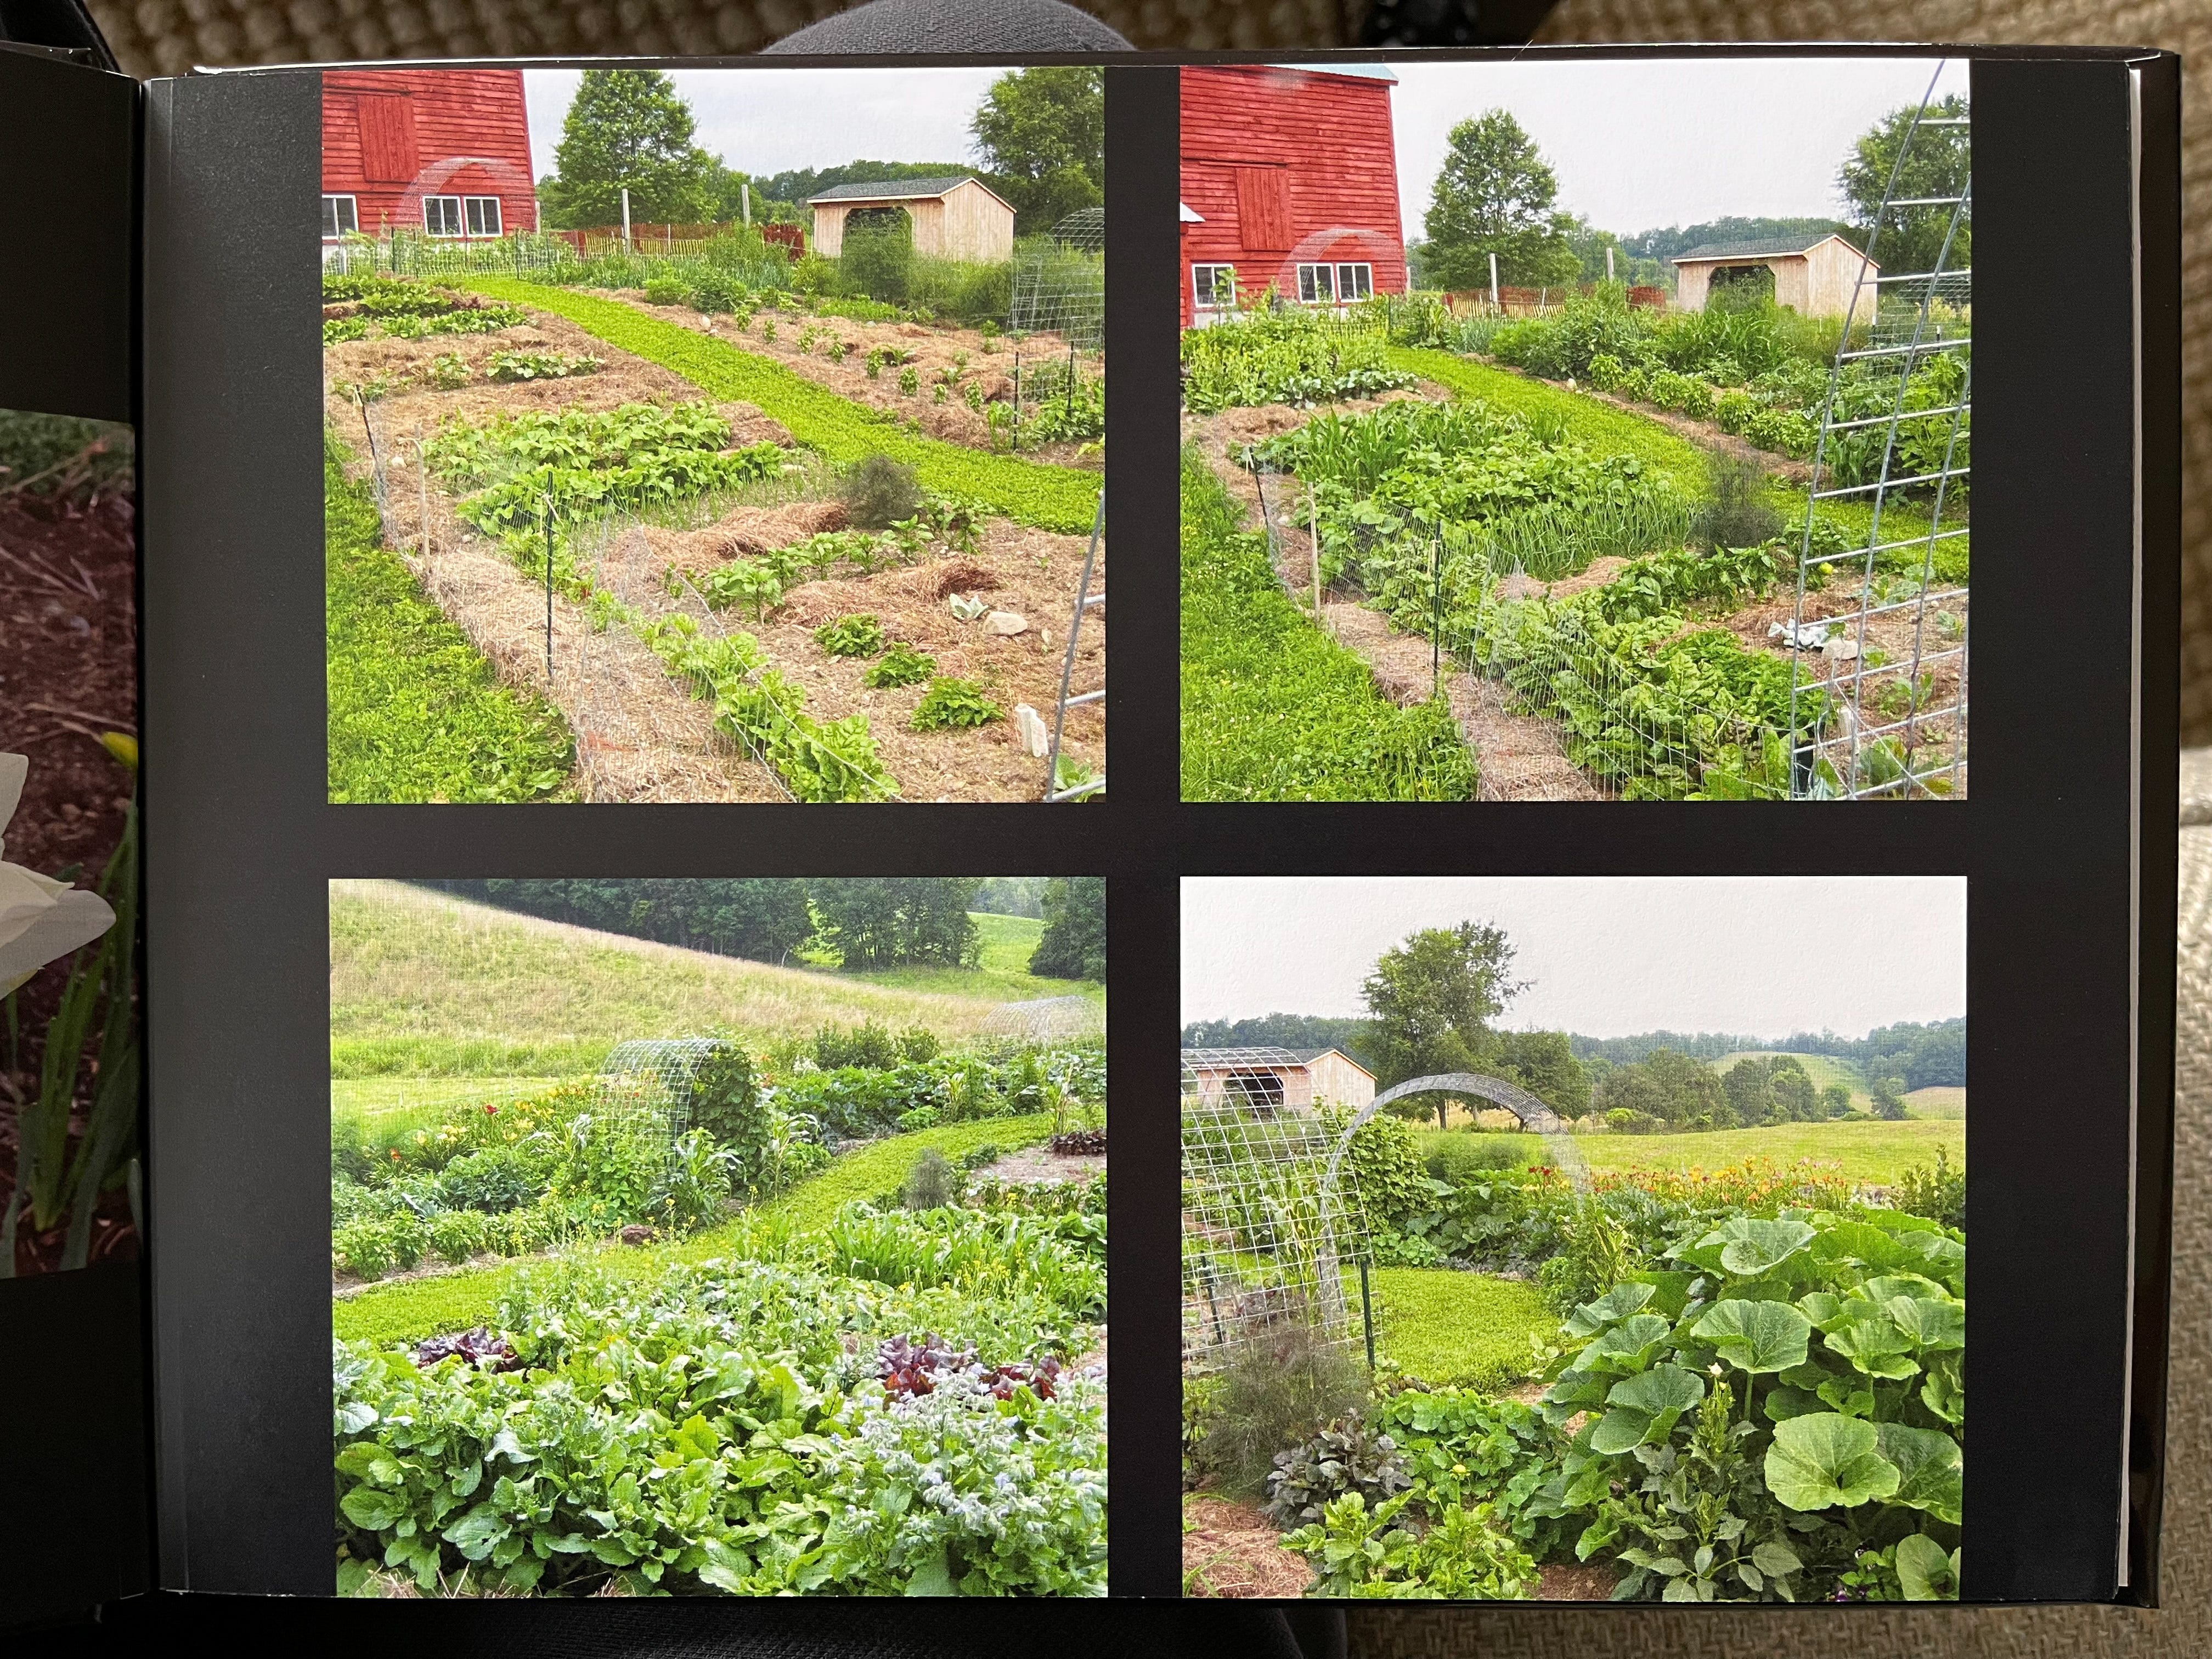
On a year when I plant in rows, my beds are typically four feed across with three feet of walking space between the beds; that way I can access the bed easily from both sides. Depending on what is planted in a bed, there may be as few as one row or four or five rows planted in the bed. I try to plant intensively with plants close enough together with the objective of having the leaves of the plants cover the entire space at maturity—again, weeds need sun to grow, and this will help keep the weeds at bay.
As this is the first year for the squash garden, I tilled it first, then I planted the seeds and then mulched. Though tilling would not have been necessary, it works for me. Other options would have been to mulch it heavily with hay (2-3 feet deep for a year) and let it set; then the second year plant tall vegetables such as tomatoes right in the existing mulch. In that year’s time, angle worms would have loosened the soil (sod and weeds in my case) and made it pliable to plant. Or another option would be to layer some mulch such as cardboard, hay, leaves, or whatever and then plant the squash directly into it right the first year.
Much of the garden is direct seeded, and when I do purchase starter plants, I always choose the smallest I can find; there is less transplant shock with small plants, and the small plants always seem to catch up with the larger transplants anyway.
When planting seeds I try to work with cosmic rhythms. I follow a calendar (see resources) which provides daily/monthly charts of the full range of planetary rhythms, with guidance in using their influence in gardening. I have no proof that planting seeds according to the phases of the moon and positions of the planets has benefits (other than it is what my grandparents used to do); I just know that things seem to grow well for me.
Though I’m mindful where I walk as not to walk on roots, the mulch cushions my step and does not pack the soil. I see the roots of the plants as their fingers; and I wouldn’t want my fingers stepped on!
Because of the mulch, watering is typically not needed.
No plastic is used.
Symbiotic relationships of plants are respected as much as possible. For this I use the Companion Planting Chart (shown on the display table).
Garden design is not planned ahead of time; it just unfolds; every year it is different. I plant one thing; then intuitively I know what to plant next and where. Because I start with smaller plants, the garden doesn’t come into its full glory until about late July or early August (see photos of past mature garden on display table). Because of our wet spring, the garden this year is particularly late.
Though there are many deer in the surrounding fields, and a woodchuck has a hole right in the garden; neither are nor have ever been a problem in the last three years. We cohabitate nicely. And in saying that, I constructed a simple non-electric fence around the squash garden because I can only imagine the daily temptation it must be for the deer. So far they’ve been respectful.
Flowers and some herbs are intersperced specifically to add beauty and to attract beneficial insects. Sometimes a weed such as Queen Anne’s Lace is left to grow or an extra basil or borage is planted because the bees and insects love them; or a few mullein volunteers are left to grow because of the structure and stature they add to the garden landscape. By mindful observation, over time one learns what plants pull in the insects you want.
Fall cleanup is fairly easy—anything diseased (and that is not too typical) is removed and discarded; all else (including corn stalks) is simply processed as best I can and left right in place as valuable mulch for next spring. It is good to put a new batch of hay on top; it is like preparing a blanket for the garden for winter.
The hog panels and cattle panels (used for the arbors) can be purchased from any Tractor Supply at the cost of about $50 and $20 each, respectively.
And, no gardening method can work equally well for all gardeners. Using the mulch method is not pure perfection—even in a garden such as this. Some years the peppers will not do well; others you may not have cucumbers, etc. The advantages of this system for me is weed control and moisture preservation. It transfers the work of tilling, hoeing, and weeding to simply mulching, planting, monitoring, and harvesting. Fertilizing is left to natural processes; I do not need chemicals of any kind. This method allows me to do the “work” of my garden in the spring when I have more energy and when it is cooler. As I get older, I appreciate that more and more. When it is hot in July and August rather than weeding and cultivating, I mostly monitor and harvest or let friends come and harvest; and it is a great time to have garden parties. And I jut simply really enjoy a clean, orderly, and happy garden!
I got to see David’s gardens in July of 2021 when I first came up to view the house for the first time. We had a chance to see them again during closing in September of 2021 and we harvested from them for the first time in October of 2021. David also made up printed books of his gardens through the years and when he visited in the spring of 2022 he brought those with him and gave me a chance to spend a few days looking through them.
His gardens were spectacular, and everyone around here commented to us as much. They always talked about his sunflowers and the arbor he used to have at the front of the farm and all the plantings he used to do. People still tell us today about his garden parties and the harvest parties he’d have where they’d set up the old apple press in the barn.
It’s taken us a few years to get ourselves to a point where we’re not so overwhelmed by all the growing spaces, and now that we’re not, it’s starting to make me think more about how best to adapt them to suit our desires and needs as we continue to develop them with our own vision in mind.
We’re applying the mulching method David used to this year’s gardens and we’re already seeing it pay off in less watering and less weeding. Each time we mow, we rake up a bunch of grass and just keep piling it onto the gardens. I’m eager to see how this pays off for next year when we’ll have so much mulch to begin the season that we’ll be able to do as David did and plant directly into the mulch we piled up from this coming fall.
One last thing—I linked the books he referenced above so you could grab copies if you wish. I have them all, have read them all, have shared before how much I love them, and I learned a ton from them, too. I recently handed the copies to Chris who is spending some time going through them and learning what he can from them, too.
I hope this was insightful for you to read and that you enjoyed getting a peek into David’s way of gardening. Do let me know if you plan to adopt some of his methodology into your gardens!
Here’s to our clean, orderly, happy gardens as David described above!!
Thanks for sharing David’s learned wisdom. I’m definitely going to try the hay mulching when we get your farm this summer. I’m ear marking this and plan to come back.
I think it's interesting how each resident of the farm has had their own dreams and made them come true.
Interesting concept about no tilling and mulching to keep weeds at bay. I like it!